How to Change Your Car’s Brakes
Learning how to change your car's brakes is a relatively simple DIY job that can save you a bundle on labor costs as we look in this explainer article.
Benefits of Learning How to Change Your Cars Brakes
Learning how to change your car’s brakes is a great way to save significant money on a job that is relatively straightforward for a DIYer with moderate skill. Like learning how to change your car battery and performing an oil change, gaining an understanding of how to change your car’s brakes is also beneficial for learning more about how your car works. That way, if you do end up at a shop, you’ll have more insight into what the mechanic is talking about.
You’ll know it’s time to look at the brakes on your car when you hear a metallic squealing or grinding noise when you press the brake pedal. This applies to front disc brakes, which are standard equipment on modern cars and what we’ll be discussing today. Rear disc brakes are common, but you may have rear drum brakes, which require a different approach.
As well, if you notice front-end vibration under braking, that could mean your front brake rotors are warped. Changing them, or having them “turned”, is a different DIY job that we’re not covering in this article. Keep in mind, this rundown of how to change your car’s brakes is a general overview and your vehicle may have a slightly different configuration. As with any DIY auto repair, take your time and take a deep breath when (not if) things get challenging.
What You Need to Change Your Car Brakes
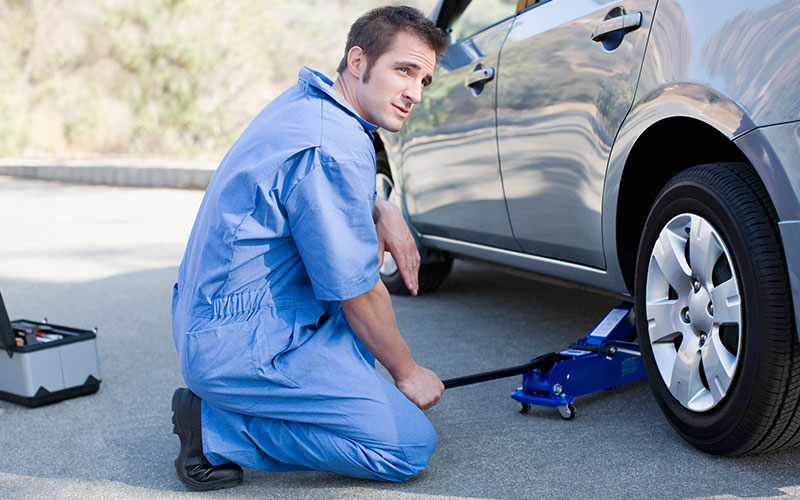
You do need a few basic tools for changing your car’s brakes. This includes a jack and jack stands, a lug nut wrench – one of the most common tools to keep in your car – a C-clamp, a torque wrench, a turkey baster for brake fluid, and a bungee cord or piece of string.
You also need a new set of brake pads, which a local car parts store can help you with. Should you want to upgrade beyond the standard replacement parts, have a look at our aftermarket brakes article here. While you’re there, pick up a container of brake fluid.

Once you’ve got everything, choose a side to start on – you’ll want to complete one side at a time – and check the current brake fluid level in the engine bay reservoir.
If it’s filled to the max line, remove some fluid using the turkey baster to avoid it overflowing as you work through the process. With all that said, let’s walk through how to change your brakes.
Remove Wheel
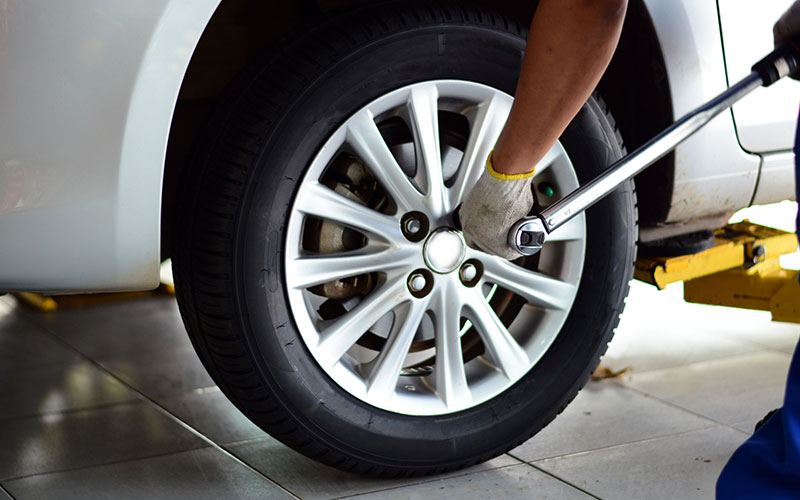
With the car on a flat, dry surface, loosen the lug nuts with the lug wrench and a breaker bar if needed. Place wheel chocks around the opposite rear wheel for safety.
Jack your car up, position the jack stand, and lower the car down securely onto the stand. From here, you can finish removing the lug nuts and pull the wheel off the car. You can also turn the steering wheel to angle the wheel for easier access to the brakes.
Remove Caliper Slider Bolt
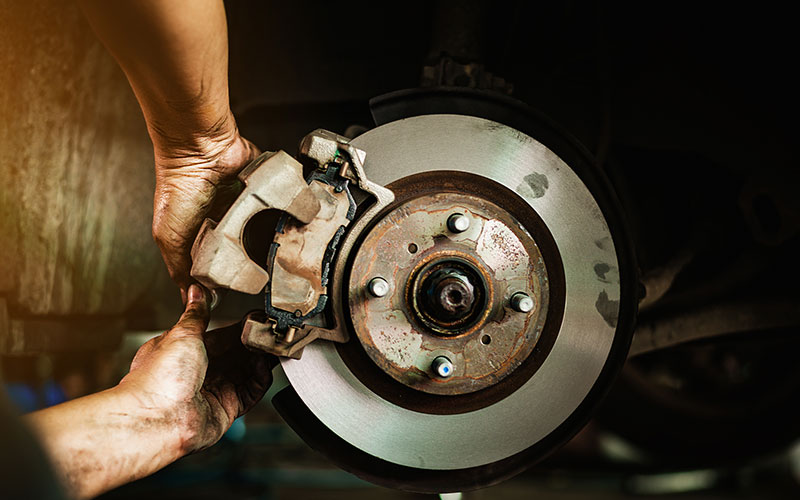
Most modern cars will have a sliding caliper assembly, which is what we’re going to be referencing. If you have a fixed assembly, changing the brake pads is still fairly easy, but it is a slightly different process not covered here. The caliper slider bolt, or pin, is what holds the brake caliper in place. They run perpendicular to the rotor, one at either end of the caliper. You should only have to remove the bottom bolt for this job.
Rotate Caliper Out of the Way
Pivot the whole caliper assembly around the remaining top bolt so that it is off of the rotor. You can suspend it using a bungee cord or piece of string so that it’s out of your way while working. The rubber hydraulic line connected to the back of it should flex when you move the caliper, so there’s no need to disconnect it.
Visually Inspect Brake Pads
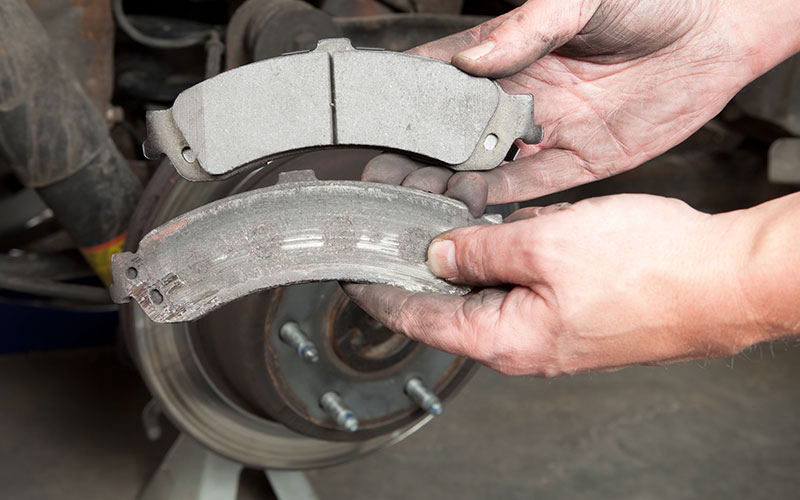
If you’ve been hearing a metallic squeal while braking, chances are you’ll see a small metal tab jutting out of the old brake pad. When this makes contact with the rotor, you’ll hear that awful noise, indicating it’s time for replacement. If you don’t see it or are unsure, measure the depth of the brake pad friction material. If it’s 1/8-inch thick, or less, at any point, it’s time for new pads.
Remove Old Brake Pads
The existing brake pads should be held in place by retaining clips. Simply slide the pads out and remove the retaining clips. A new set of clips should come with fresh brake pads. They do have a left and right side, so be sure to match up the new clip’s orientation with the old ones and snap them into place.
Grease Clips and Install New Brake Pads
Along with new clips and pads, you should have gotten a small pouch of grease. Apply this to the new retaining clips so they don’t squeak and add some to the metal “ears” at either end of the new brake pads for the same reason. Slide the new pads into their new retaining clips and you’re almost there.
Visually Inspect the Brake Caliper
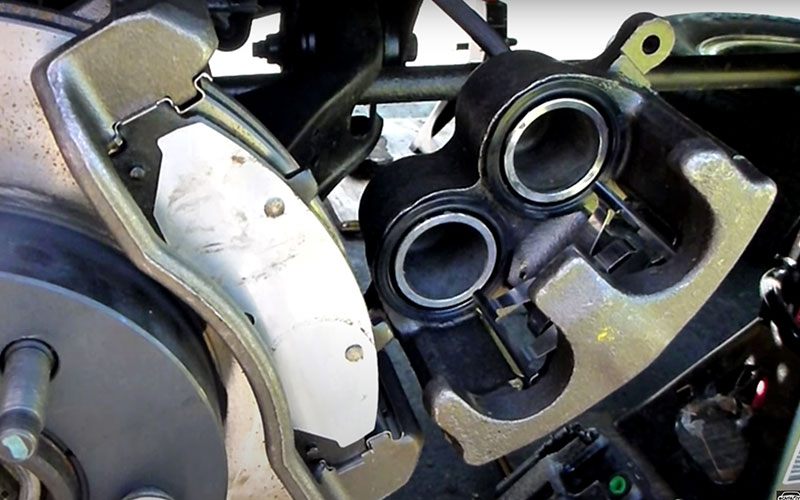
With the pads in place, take a look at the caliper piston – there’s typically one or two – on the inside of the brake caliper. Check for tears or fluid seepage around the rubber boots. If it’s clean, move on to the next step, but if the caliper piston seals are in need of replacement, make sure to address that first.
Compress the Caliper Piston

The caliper piston pushes on the brake pad, which presses against the rotor to slow the car down. As those pads wear down, the piston gradually sticks out further from the caliper. With the new thicker brake pads, you need to seat the pistons back into the caliper so that the whole assembly can slide back over the pads.
To do this, you can use a C-clamp or lever the pistons back into their homes with a piece of wood. When you’re doing this, go slowly and gradually. This process will push brake fluid back into the master cylinder reservoir in the engine bay through tiny orifices.
It takes time and can overflow that reservoir if it’s full, but we already looked at that, so you should be in good shape. However, you can also put the turkey baster back to work as needed. If there are two pistons, make sure to compress them at the same time. If you try to do one at a time, it will push the second one back out.
Reinstall the Caliper
Once the caliper pistons are reseated, remove the C-clamp (the pistons won’t pop back out) and slide the whole assembly back over the brake pads. The fit may be tight, which is normal, but if something is catching, double-check that the pistons are fully reseated.
Reinstall the Caliper Slider Bolt
Put the slider bolt back into the caliper, but be careful not to overtighten as this can cause other problems. You can consult a service manual for proper torque specs and then use the torque wrench to hit that figure.
Reinstall the Wheel
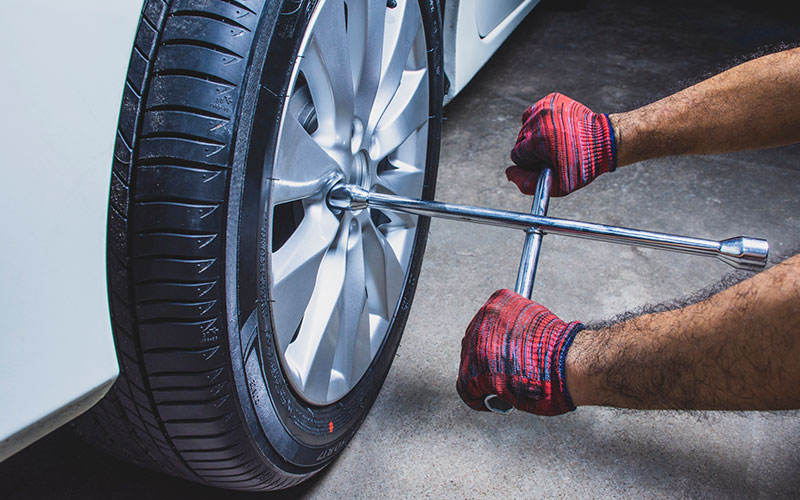
At this point, you can straighten out the steering wheel, if necessary, remount the tire and rim assembly, and loosely tighten the lug nuts. After setting your car back on the ground, go back and fully tighten the lug nuts.
Repeat and Wrap It up
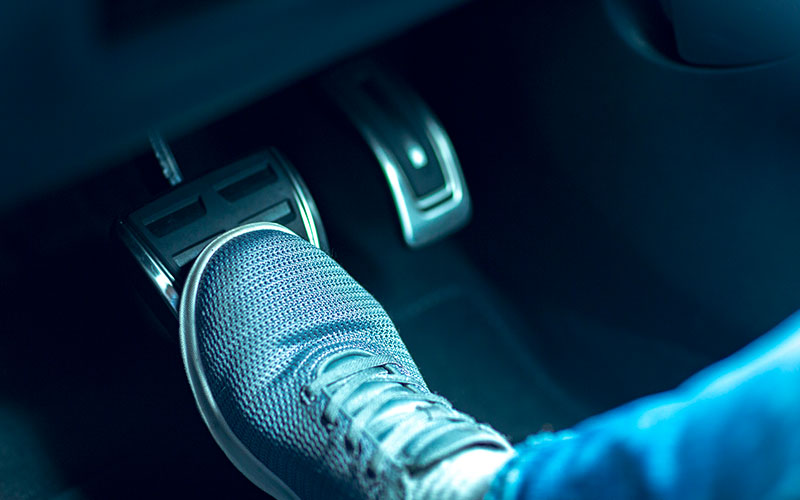
With one side done, head around to the other side and repeat the process. Once both sides are done, hop in the car and gently pump the brake pedal to make sure the brake fluid is flowing and the system is functioning. Then, give the brake fluid reservoir another check and top off if needed.
The last step in this overview of how to change your car’s brakes is a test drive. Go slowly and press the brakes lightly on the first few stops. Find an open stretch of road where you can get up to about 50 mph, then gently brake down to 30 mph. Drive for a few minutes to let everything cool down and repeat the process 3 or 4 times. This process is known as “bedding the brakes” and helps ensure everything is working optimally. After that, you’re all done!


